
Export Workspace
The export workspace lets you preview your manuscript and save settings for an agent, a reading group, or a website. Each export profile remembers your format, content selection, and layout. Your writing in kindling stays unchanged.
Just need a file?
Section titled “Just need a file?”Custom is optional. Open File → Export, choose Word, ePub, Markdown, or another standard format, adjust its options, and export. You don’t need to create a profile or open the workspace.
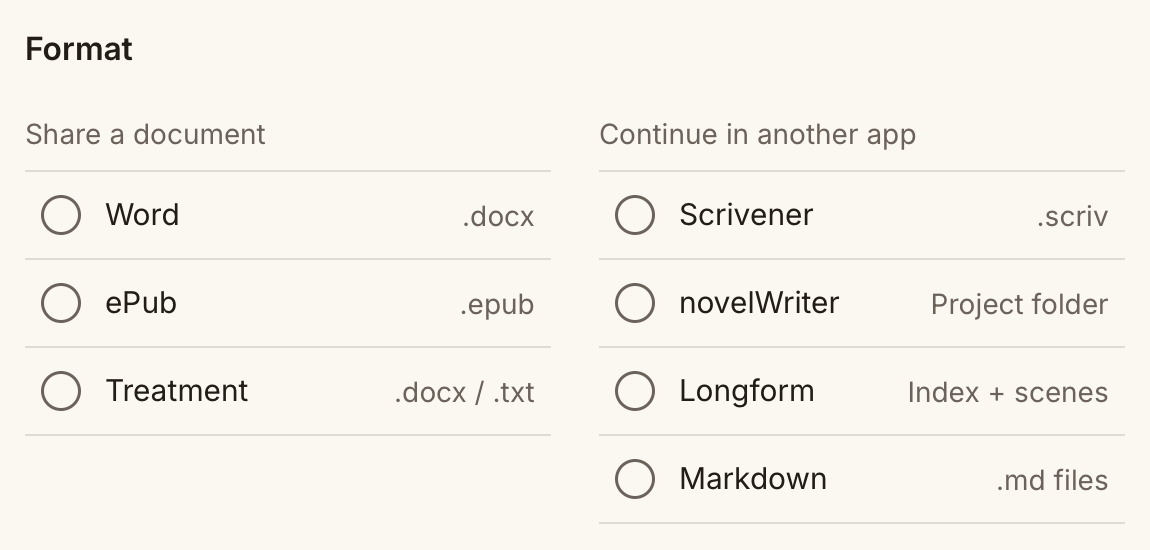
See Exporting Projects for the simple route. Continue below when you want saved profiles or more control. If you’re already in the workspace, Back to export returns to those format choices.
Create your first profile
Section titled “Create your first profile”- Choose File → Export → Custom. Pick Agent submission, Writing group, or Website chapters, then select Open workspace.
- Use Duplicate profile beside the dropdown. Name your copy in Overview.
- Choose an Output format and adjust the sidebar settings beside the preview.
- Select Save profile, then Export. Choose a destination and new filename; Open export opens the result.
The starting profiles are editable. Check your recipient’s requirements before using one for a submission.

kindling remembers Custom and your last profile for this project. You can choose a standard format for any individual export without losing that preference.
Find the settings you need
Section titled “Find the settings you need”Use Find a setting… to jump to a control by name, such as “double spaced” or “running head.” The sidebar shows the sections available for your format:
| Section | Use it for |
|---|---|
| Overview | Profile name and starting profiles |
| Content | Chapter selection, scene titles, synopses, and beat headings |
| Headings & breaks | Chapter and Part headings, scene separators, page breaks |
| Text & page | Typography, spacing, alignment, paper size, and margins |
| Book details | Title, author, contents, running headers, and ebook metadata |
| Files & format | Filenames and format-specific options |
On smaller windows, Settings and Preview switch between the two panes.
Choose what goes into the manuscript
Section titled “Choose what goes into the manuscript”In Content, choose Entire manuscript or Selected chapters. Chapters keep their project order; an entire-manuscript profile includes eligible new chapters automatically.
For one chapter or scene, use its sidebar Export menu, then open Custom. The selection becomes part of the profile only when you save or duplicate it. Include the rest of its chapter expands a scene selection.
The workspace’s Word, EPUB, HTML, Markdown, and plain-text exports include saved prose from the scenes’ active writing views. Archived chapters and scenes, unused scenes, notes, to-dos, discovery notes, and editorial comments are excluded. You can add scene titles, scene synopses, and beat headings separately. For scenes written in Page View, included beat headings follow the scene prose.
If you keep writing after opening the workspace, let your changes save, then use Refresh saved manuscript. The export uses the saved writing it loaded.
Longform, Scrivener, novelWriter, and treatment exports use the whole project and their own content rules. They do not use the workspace’s chapter selection or manuscript typography settings.
Check the preview
Section titled “Check the preview”For Word, EPUB, and HTML, preview one chapter or choose Whole selection to see the title page and contents. This dropdown changes the preview only; Content still determines what you export.
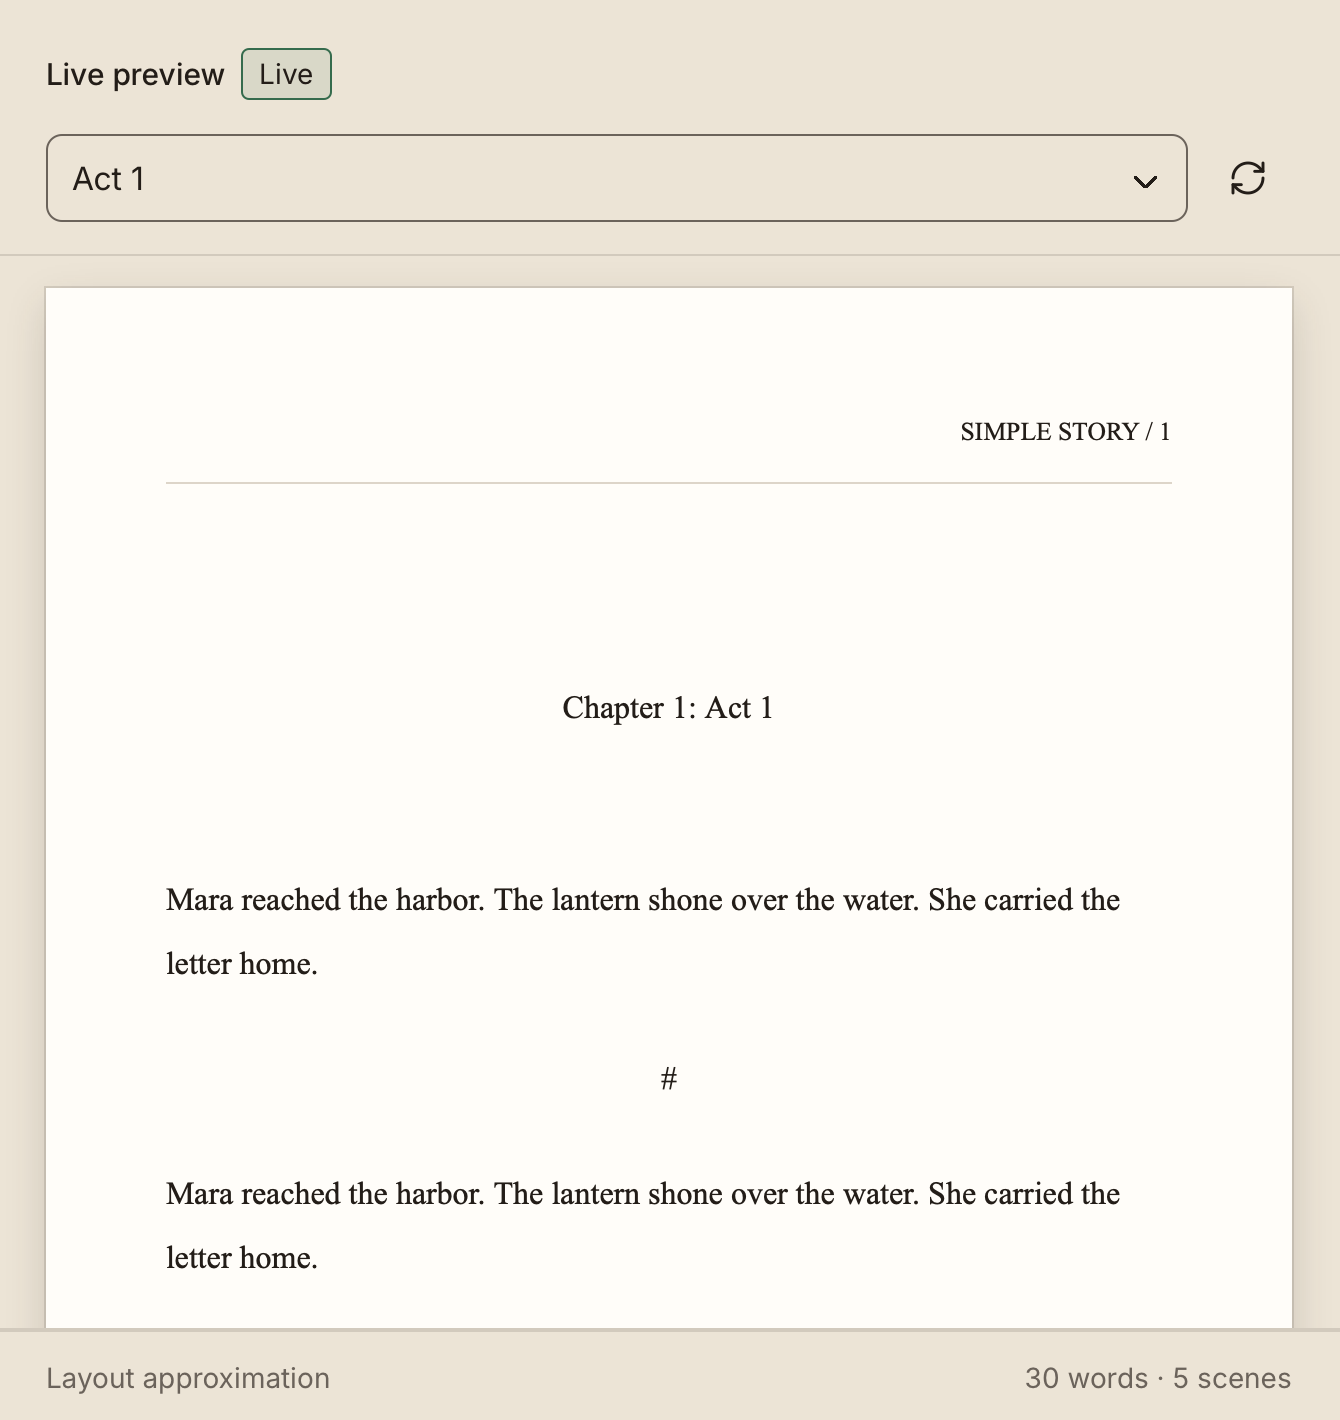
Word previews approximate layout. Open the exported document in your word processor to check pagination and repeating headers. Ebook readers may apply their own font and spacing preferences.
HTML offers Read and HTML tabs so you can inspect both the rendered manuscript and its source. Markdown and plain text show the generated text for the whole selection. Project formats and treatments show a description of the output instead of a manuscript preview.
Prepare a submission manuscript
Section titled “Prepare a submission manuscript”Start with Agent submission and choose Word manuscript as the output format. In Text & page, set the requested font, size, line spacing, paper size, and margins. Set paragraph indentation and, if needed, select No indent after a heading or scene break.
Use Headings & breaks for chapter numbering, scene separators, and page breaks. In Book details, set your title and pen name, choose whether to include a title page and word count, and configure the running header. Word omits the running header from the title page.
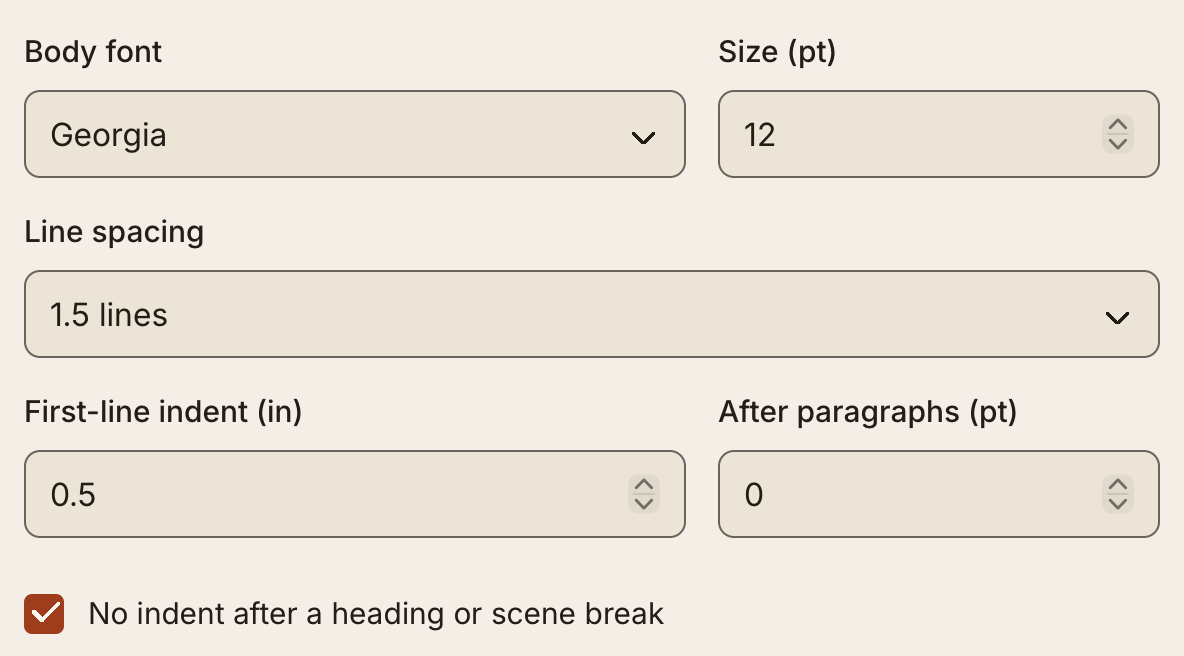
These are example settings; save each recipient’s requirements in their own profile.
Prepare an ebook or reading copy
Section titled “Prepare an ebook or reading copy”Start with Writing group and choose Ebook / reader copy. Select the chapters you want to share and choose whether to include scene titles or a table of contents.
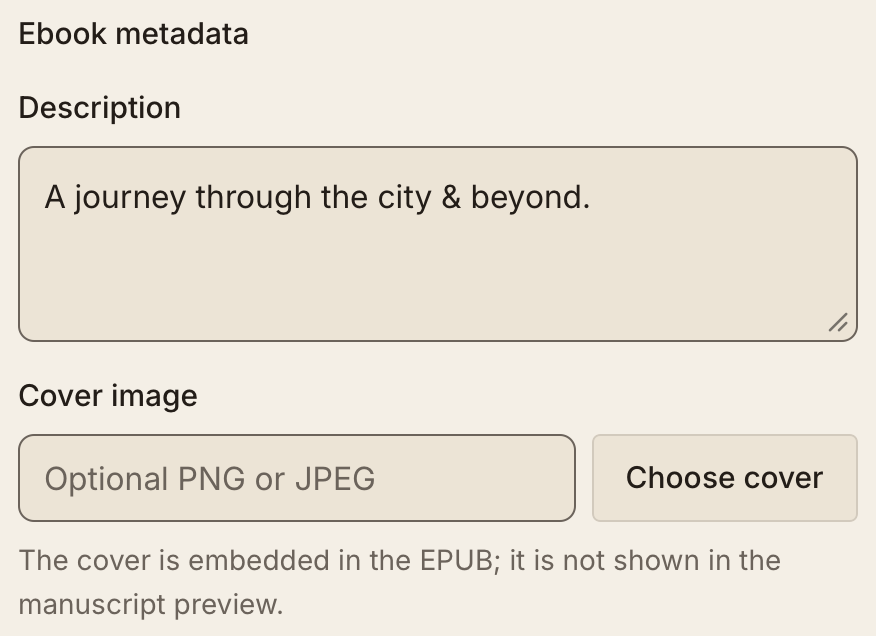
In Book details, enter the title, author, description, and language. Use Choose cover to select a PNG or JPEG image. The cover is included in the EPUB but is not shown in the manuscript preview.
Export HTML for a website
Section titled “Export HTML for a website”Start with Website chapters and choose Web / HTML. In Files & format:
- Choose Complete HTML document for a standalone page, or Body fragment for pasting for content you will insert into another page.
- Choose Heading 1 or Heading 2 for the chapter heading element.
- Keep Include built-in styling enabled to use your typography settings, or turn it off to let your website supply the styling.
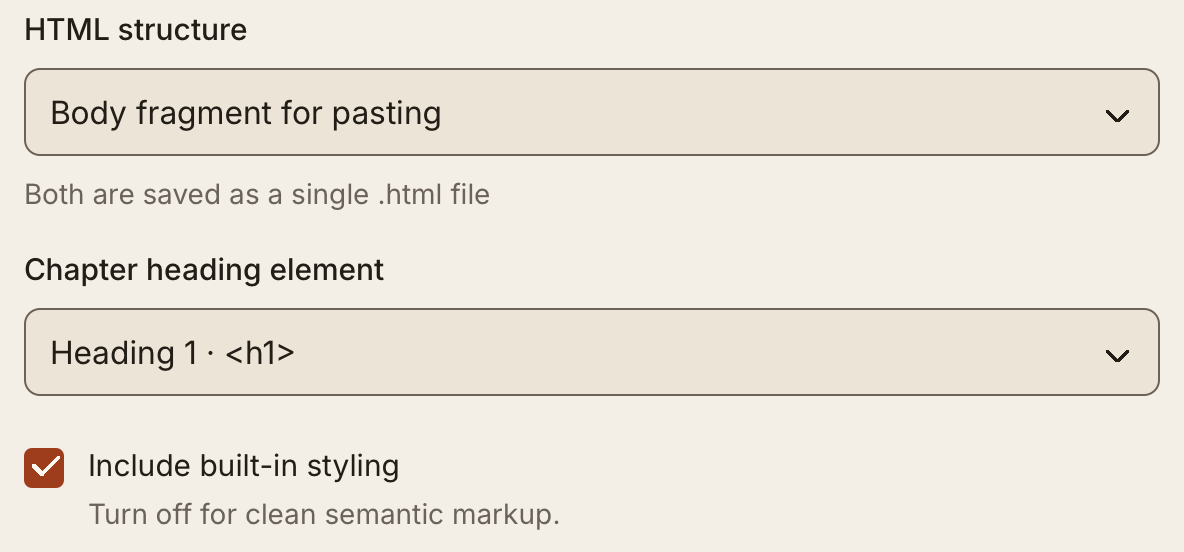
Inspect the HTML tab before exporting. Both options produce one .html
file containing your selected chapters. Embedded images and unsupported
formatting are omitted from manuscript output.
Export text or move to another writing app
Section titled “Export text or move to another writing app”Markdown produces one formatted .md manuscript; Plain text produces
one unformatted .txt file. For separate scene files, use standard Markdown or
Longform / Obsidian.
For project folders, reference notes, and roundtrip details, see the format guide.
To update an existing Scrivener project with scene matching and backups, select Back to export and choose Scrivener in the standard dialog. novelWriter export is available for prose projects; screenplay projects are not supported.
Treatments offer One page · overview, Five pages · key scenes, and Full · scenes and beats. These choices set the level of detail; the actual page count depends on your material.
Name and save the exported file
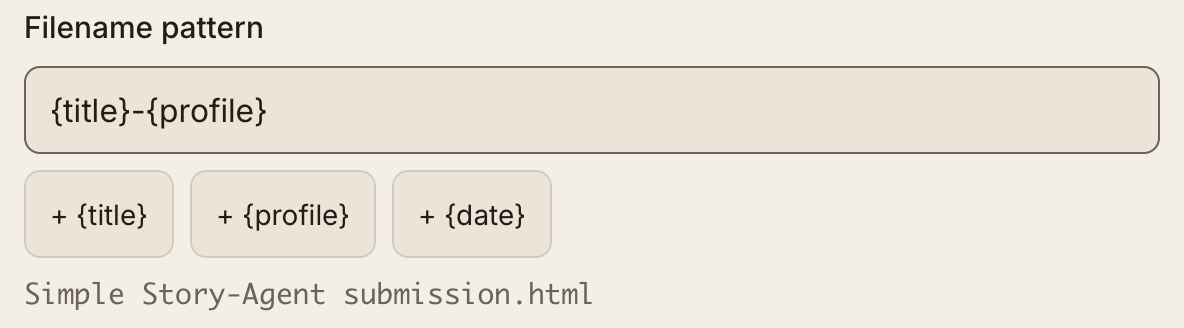
Section titled “Name and save the exported file”In Files & format, build a Filename pattern with {title}, {profile},
and {date}. The example updates as you type; kindling adds the extension.
Choose a destination each time you export. Workspace exports preserve existing files and folders, so use a new name for each copy. For Longform and novelWriter, choose the parent folder; kindling creates the named project folder inside it.
Save, reuse, and recover profiles
Section titled “Save, reuse, and recover profiles”Save profile keeps the current settings. Export uses the settings you see, including changes you have not saved to the profile. Switching profiles also saves valid changes to the current profile. To try a different arrangement without changing an existing profile, duplicate it first.
Revert returns to the saved settings. kindling also retains unsaved profile changes on this device so you can resume after closing the workspace. If an incomplete draft cannot be recovered, it loads the saved profile instead.
Profiles belong to a project on this device. They are not included in project transfers or snapshots. Restoring a snapshot does not restore profile settings. Keep a note of any settings you need to recreate on another device.
If export is unavailable
Section titled “If export is unavailable”- Nothing selected: open Content and select a chapter containing manuscript scenes, or choose Entire manuscript.
- Part of a saved selection is missing: review the chapter selection after deleting or archiving content.
- A setting is incomplete: enter a profile name and finish any highlighted numeric fields. You can keep editing while the preview remains visible.
- The destination already exists: choose a new filename or folder name.
- A cover image cannot be read: use Choose cover to select the image again.
- Profiles could not be loaded or saved: existing saved settings are preserved. Avoid clearing app data to resolve the error; keep a note of your settings and include the displayed message when asking for help.
For importing or syncing an exported project, see Importing Projects and Sync & Reimport.